Export Data to QuickBooks® Online
1. Introduction
This document helps the user to know the steps involved in Exporting data from Easy-Commission to QuickBooks® online. To export data user has to authenticate Easy-Commission with QuickBooks® Online account.
2. Export Diagram
3. Steps involved in Export Process
a) Connect to QuickBooks® Online
- One time setup
Before proceeding with Export process, Easy-Commission needs to be authenticated with QuickBooks® online account.
>> Payout Process>> Export To QuickBooks® Online
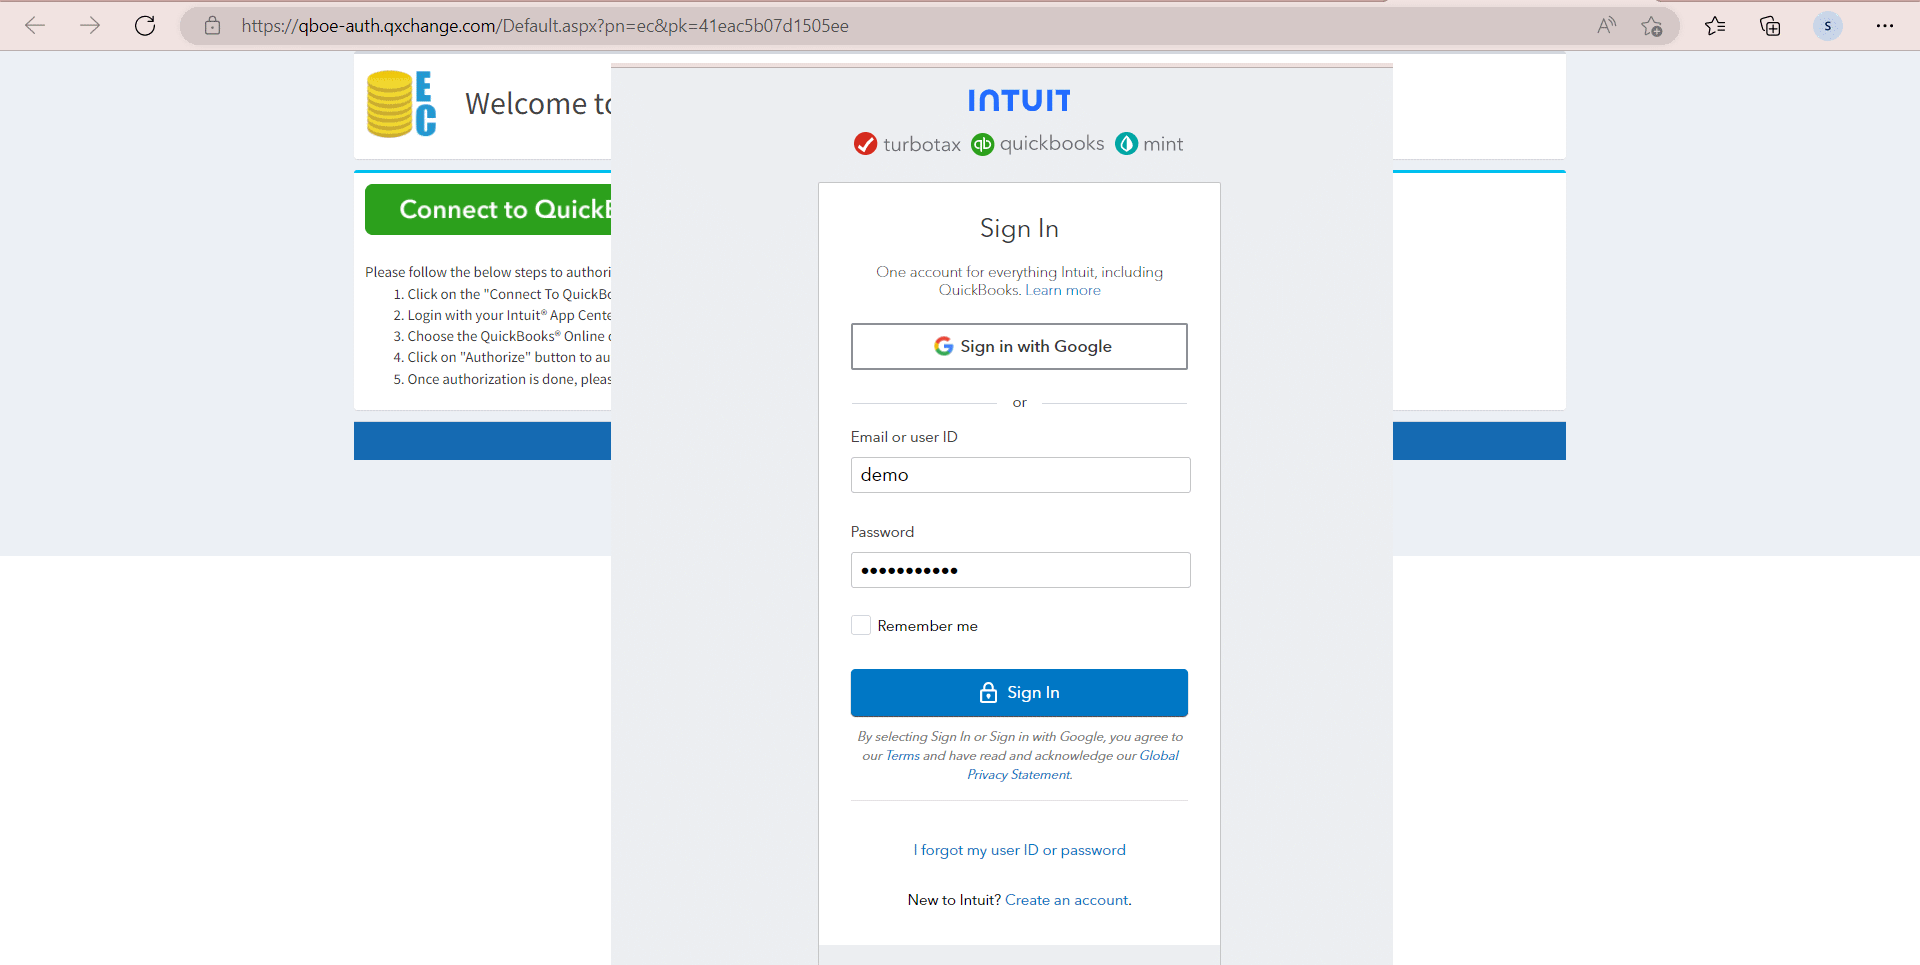
Another new page will be opened and it will be asking for the QuickBooks® online account credentials.
Click on "Authorize" button to authenticate Easy-Commission application.
User will be shown the connection status.
-
Close this page & go back to Easy-Commission Application.
b) Initiating Export process
- Export of Vendor Commission:
Before exporting commission to vendor as bills, make sure that Sales Rep (who is actually the Vendor in QuickBooks®) in Easy-Commission has “Employee” field unchecked and “Accounts Payable” field filled with Vendor’s QuickBooks® online Account name (example, “AccountsBasedExpenseLineDetail”) as shown below
After authentication, the user can return back to Easy-Commission Application to begin export by clicking on "Export Data" button.
Now user could see the Export process status.
After the completion of export, you can find a new bill created in QuickBooks® Online account for related vendor
4. FAQ
- What are all the Easy-Commission data that can be exported to QuickBooks® online?
Commission for vendor sales rep can be exported as Bills to QuickBooks® Online. - Why no bills are getting created in QuickBooks® Online even after successful export?
Ensure the following field values are appropriate in your Easy-Commission account.- In Rep page, Employee flag has to be unchecked
- In Rep page, Accounts Payable field is set to correct account name
- In Vendor page, Associated Rep Name field has appropriate Rep name selected


